Thinking About Stucco for Your Sacramento Home? Here's the Lowdown
So, you're looking at stucco for your house here in Sacramento. Maybe you're building new, or maybe you're thinking about re-siding. It's a great choice for our climate – durable, energy-efficient, and it looks good. But before you grab a trowel and a bucket of mix, let's talk about what's involved. I get a lot of calls from folks who started a stucco project thinking it was simple, only to find themselves in over their heads. I'm here to tell you what you can realistically do yourself and, more importantly, when it's time to pick up the phone and call a professional.
Before You Even Think About Mixing Stucco
This is where most homeowners can do a lot of legwork, and honestly, it'll save you money whether you DIY or hire someone. It's all about preparation and understanding the scope.
- Research Your Stucco Type: There's traditional three-coat stucco, one-coat stucco, and synthetic stucco (EIFS). They all have different application methods and properties. For most Sacramento homes, especially older ones, you're probably looking at traditional cement-based stucco. Understand the differences and what's best for your home's structure and your goals.
- Check Local Codes and Permits: This isn't optional. Any exterior structural change or significant re-siding project usually requires a permit from the City of Sacramento or Sacramento County. Don't skip this. You don't want to finish a big job only to have to tear it down because you didn't get the proper approvals.
- Assess Your Substrate: What's under there? Is it old siding? Bare sheathing? The existing surface dictates a lot about prep work. You'll need a solid, clean, and properly prepared surface for stucco to adhere correctly. This might involve removing old siding, repairing damaged sheathing, or applying a weather-resistive barrier.
- Budget and Timeline: Be realistic. Stucco isn't a weekend project, especially if you're doing a whole house. Factor in material costs, tool rentals, and if you're hiring, labor costs. Get multiple quotes if you're going with a pro.
You can definitely handle the research, permit applications (though a good contractor will often help with this), and even some of the basic demolition or site prep yourself. Cleaning the area, moving plants, protecting windows and doors – that's all stuff you can do to get ready.
During the Stucco Installation: Where DIY Gets Tricky
Alright, you've done your homework. Now comes the actual application. This is where I see homeowners hit a wall, literally and figuratively.
- Lath and Flashing Installation: This is critical. You need to properly install a weather-resistive barrier (like building paper or house wrap), then metal lath (chicken wire or expanded metal mesh). Flashing around windows, doors, and other penetrations is absolutely non-negotiable for keeping water out. If water gets behind your stucco, especially with our wet winters and the clay soils we have around here that can hold moisture, you're looking at rot and mold. This needs to be done perfectly, or you'll have big problems down the road. This is usually where I tell folks, if you're not experienced, it's time to call a pro.
- Mixing the Stucco: Getting the right consistency for each coat is an art. Too wet, it sags; too dry, it won't adhere or finish properly. You'll need a mixer, and you'll need to know the ratios for your specific product.
- Applying the Scratch Coat: This is the first layer, pushed firmly into the lath. It needs to be uniform in thickness and scored (scratched) to provide a key for the next coat. It sets the foundation.
- Applying the Brown Coat: This is the leveling coat. It fills out the surface and brings it to a uniform plane. Getting this smooth and plumb is essential for a good finish. Any imperfections here will show through.
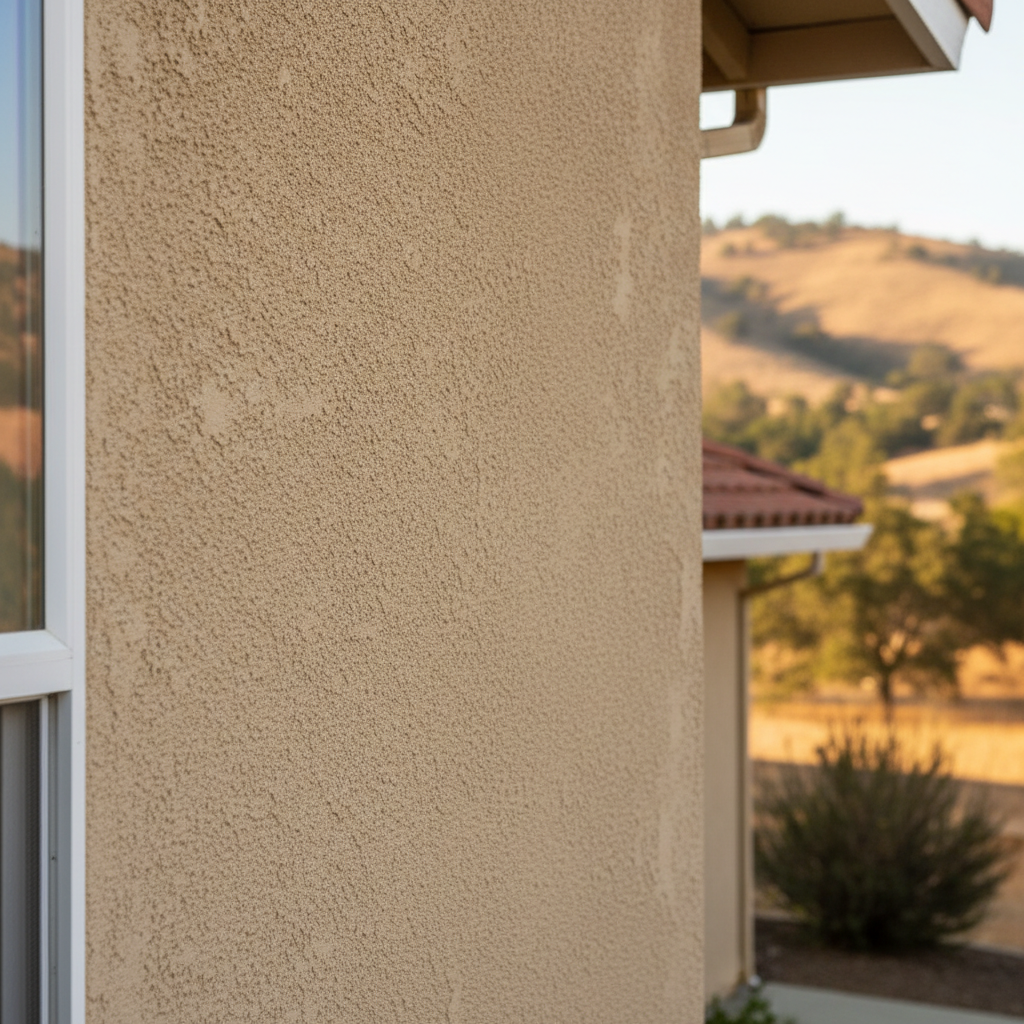
- Applying the Finish Coat: This is what everyone sees. It's where you get your texture – smooth, sand, dash, lace, whatever you're going for. This requires a steady hand, experience, and speed. Stucco dries fast, especially on a hot Sacramento summer day. If you're not quick and consistent, you'll end up with visible seams, uneven textures, and a finish that just doesn't look professional.
Can you apply stucco yourself? Yes, technically. Can you apply it well, without years of practice? Probably not. The lath, flashing, and finish coat are the biggest hurdles for DIYers. A bad finish coat means your house looks bad. Bad flashing means water damage. That's why for anything beyond a very small patch job, I always recommend bringing in someone who does this day in and day out. That's what we do at Top Line Stucco Sacramento – we've got the experience to get it right the first time.
After the Stucco is Installed: Maintenance You Can Do
Once your stucco is up and cured, whether you did it or hired us, there's ongoing maintenance. And this is all stuff you can absolutely handle.
- Regular Cleaning: Stucco is pretty low maintenance, but it does get dirty. A gentle wash with a hose and a soft brush, maybe some mild detergent, can keep it looking fresh. Avoid high-pressure washers, as they can damage the finish, especially on older or softer stucco.
- Inspect for Cracks: Walk around your house periodically, especially after big temperature swings or seismic activity. Small hairline cracks are normal as a house settles and expands/contracts. You can usually fill these with an elastomeric caulk specifically designed for stucco. Larger cracks, or cracks that are growing, could indicate a bigger structural issue and warrant a professional inspection.
- Check Flashing and Sealants: Make sure the sealants around windows, doors, and where the stucco meets other materials are still intact. Reapply if you see any gaps or deterioration. This is your first line of defense against water intrusion.
- Painting (Eventually): If your stucco wasn't integrally colored, or if you want a new look, you can paint it. Make sure you use a high-quality, breathable paint designed for masonry.
So there you have it. Stucco is a fantastic exterior finish, but it's not a beginner-level DIY project for a whole house. You can save money on the prep and the ongoing care, but for the actual application, especially the critical waterproofing and finish coats, you're usually better off trusting it to the pros. It's an investment in your home's longevity and curb appeal, and getting it right from the start pays off big time.